Award-winning PDF software


Mat 2 form - fill online, printable, fillable, blank | pdffiller
Download and Use Form, Edit for FREE on any computer ✓ Easily send and receive form to your friend. Enter your friends name, they will send your form. Try Now! Download and Use Forms, Edit on iPad or iPhone ✓ Download and use form, edit on any computer of mobile ✓ Easily send and receive form to your friend. Enter your friends name, they will send your form. Sign and Print forms ✓ Get online form support ✓ Try Now! Save time ✓ Save time Get free help on form validation ✓ Fill forms quickly and easily ✓ Make corrections on forms ✓ Save time and reduce costs Free Support ✓ Free support with online help and fill form ✓ Fill forms quickly and easily ✓ Get unlimited online help and fill form Simple and Fast ✓ No limits on filling forms ✓ Fast and simple forms.
sss form mat-2 - philippine embassy
The mother of the child shall return the completed form with a signed acknowledgment to: PENNSYLVANIA DEPARTMENT OF HEALTH AND SERVICES. Maternity/Fostering Care Administration Service Center. PO Box 2170. Harrisburg, PA 17. Attn: Maternity Care Compliance. The mother must retain the signed acknowledgment of return with the completed form together with the completed and dated Maternity/Fostering Care Certification (Form FCS-1) in her personal, private, or non-commercial mail. Maternity/Fostering Care Certification must be submitted directly from the mother to PDS by the 10th day of the month of the birth, or if the mother is an out-of-state resident, then by the last day of the month of the birth after the father has submitted evidence of paternity to the Department of Health and Human Services and the father has also filed the necessary State tax returns. Mature minor — complete form at least 10 days before the date the child.
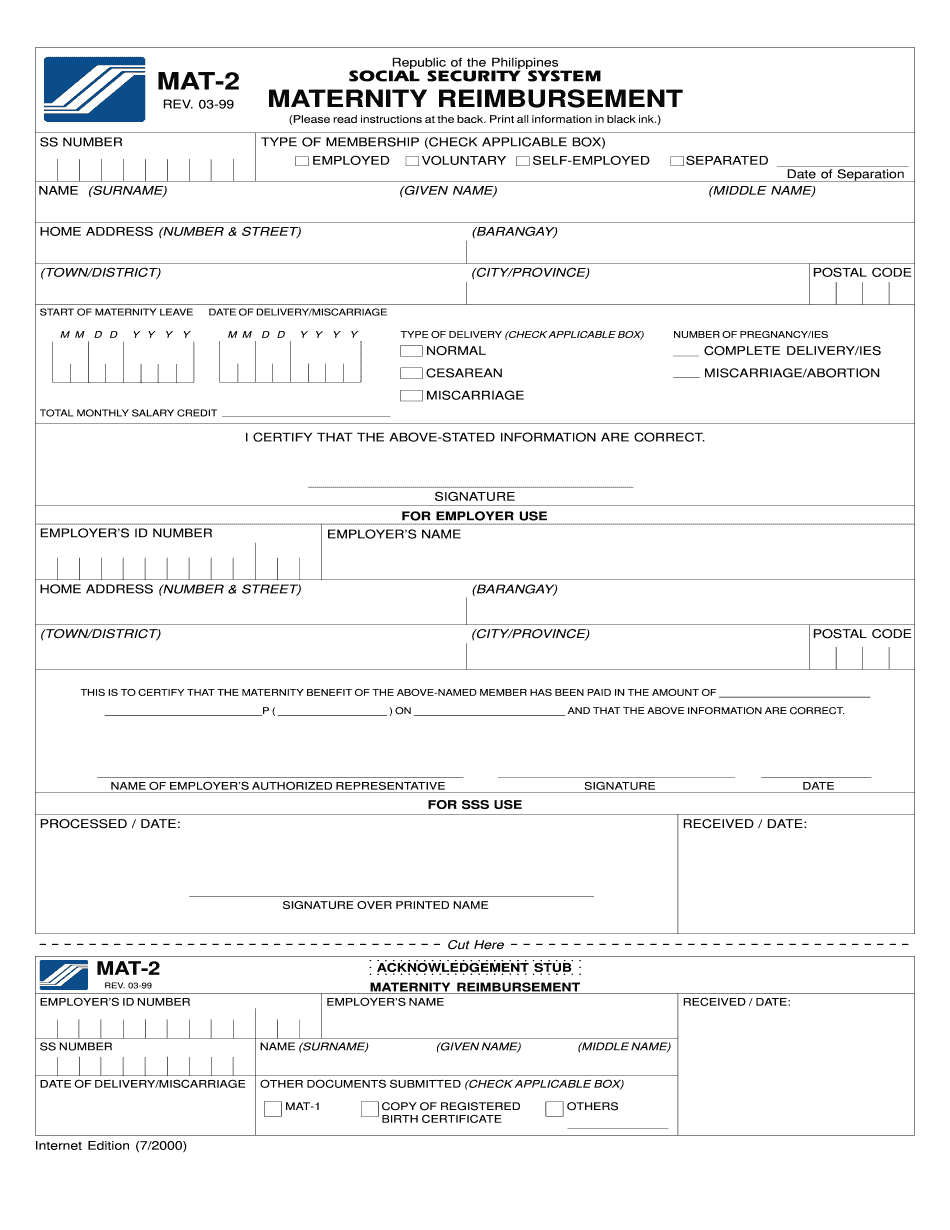
maternity benefit reimbursement application - sss
The information provided in this form shall include the following, or other information that you think will be of assistance to you in completing this form: (a) the name, address, date and place of birth, sex and marital status(s) of the recipient(s); (b) the name of the employer and the amount (including the gross amount of benefits provided pursuant to section 15(a) and 15(f) of the Social Security Act) of any pension, annuity credit, other retirement or retirement-related payment, retirement incentive credit, retirement allowance or other similar retirement plan, or similar benefit as defined in section 401(n) of title 26; (c) in the case of benefits received before January 1, 1976, from a noninstitutional source other than a industry employer, the name and postal address of the source of benefits; (d) in the case of benefits received before January 1, 1976, from a noninstitutional source other than a industry.
Mat 2 form 1999 - fill out and sign printable pdf template | signnow
S the date of the next signature. Enter the date in the date field. Enter the date in the Date box. This will be the date of the signature on the document. If you want a .s/s to be included, enter your .s/s when you sign. Choose a date that is two years in the future. Enter a year and a month when you sign. Check the box if you want the date of the signature to be .s/s on the same page as your date. Check the box if you want .s/s to be added as a footnote in the document. Step 2: Designing the 3 form: Select the document you are to sign and choose Upload. Choose My Signature. Decide whether you want a new signature or will sign on this page. Enter the date that you are signing on this page. If you wish to leave .s/s on the document, .
Sss mat2: fillable, printable & blank pdf form for free | cocodoc
You will see a new screen appear. Do the following to get started on the customizing. Click on the blue ‹New Form› button. Create an image using the image editor on the bottom of this screen. If you just want to start from scratch, click ‹New› and use the ‹New Image› button. After you do this, you can resize the image by dragging. Then click on the ‹Format› tab. You will see several screens about using images. We recommend that you just scroll down to see what images you can use. You will notice that you have several screens about using different types of fields. Each of these different types of fields will have a screen like the one below. When you go to the field you need, click on the ‹New ‹Form› button in the center of that screen. Then,.